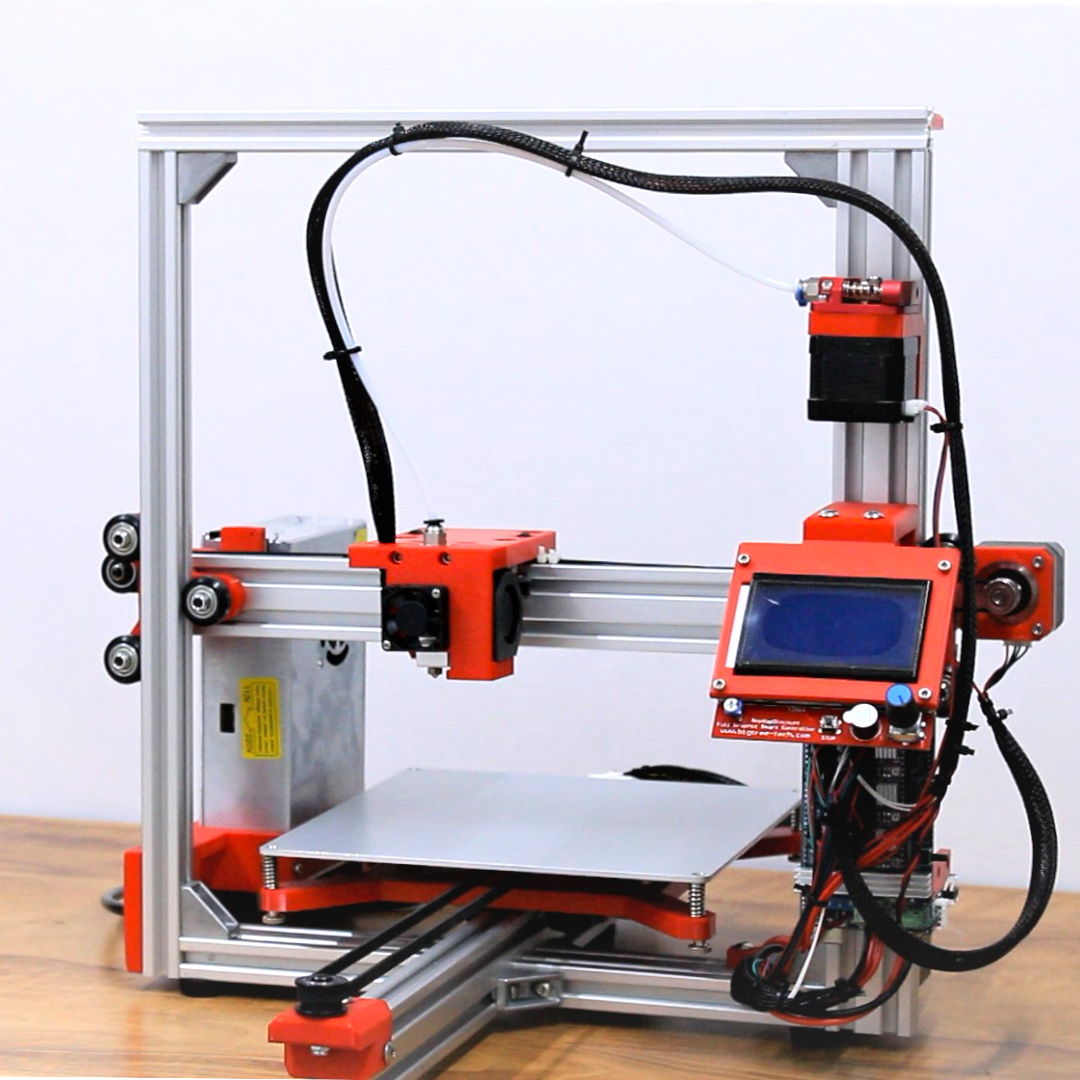
In this Final Part of the 5-part blog, we will prepare our 3d printer to run it for the first time.
Previous Parts:
Youtube Video:
Youtube: Playlist
3D Printer Glass Bed

We start with installing the glass bed. i have used this 213x210x3mm borosilicate glass bed which has a high temperature resistance. place the glass bed on top of the aluminium heated bed, and secure it in place using binder clips. before that, make sure to remove any protective film on the glass on both sides.
Plug the AC adapter cable to the AC mains socket, and turn on the switch. if you have followed all the steps properly, the printer should now turn on for the first time. you can see a boot screen on the display with “Marlin Firmware”. then the display will show some information, such as the temperatures of the hotend and the bed, and the position of the X Y and Z axis. this is idle state of the printer.
you can operate the printer using the rotary encoder below the display. rotate the encoder to move the cursor, and press it to select any option. you can navigate through the menus, set the temperatures, and move the X Y and Z axis. select Auto home to bring the printer to its home position.

Bed Levelling
bring the printer to its home position, and disable the steppers. now using a piece of office paper, check the gap between the nozzle and the bed. turn the knob under the bed spring to increase or decrease the gap. do this until you feel the paper is able to move but with some tension. repeat the same step for all the 4 corners, and we are done with the bed levelling. ensure that the bed is levelled before starting with your print, as it may cause the first layer to adhere poorly, which may spoil your 3d prints.

once the levelling is done, heat the nozzle and the heated bed and insert the filament. i would suggest getting started with PLA, as it is very easy to print and a beginner friendly filament.
now the printer is ready for its first print.

Test Print
i downloaded a 20x20x20mm calibration cube from thingiverse and sliced it using Cura. copied the G-code file to an SD card, inserted the SD card to the SD Card Slot on the side of the LCD, and gave the command to print the Cube.
The first cube didn’t turn out that well, so i changed some settings, cleaned the bed and printed it again. this time the cube turned out to be of acceptable quality.

After that i printed the Benchy, which is a benchmark for 3d printing tests. and the print turned out very well.